The fast Ledger setup approach prioritizes core security steps while enabling rapid deployment for users ready to begin cryptocurrency management. Following the initial Ledger configuration workflow establishes proper security foundation within minimal time investment.
This quick start guide condenses setup into essential actions while maintaining crypto security standards. Users benefit from expedited configuration without sacrificing private keys protection or cold storage integrity. The process typically completes within 15-20 minutes for experienced users familiar with hardware wallet concepts.
Quick start assumes basic understanding of cryptocurrency and hardware wallet principles. Users preferring detailed explanations should reference comprehensive setup guides for thorough coverage of each step across all supported coins via USB-C or Bluetooth connection.
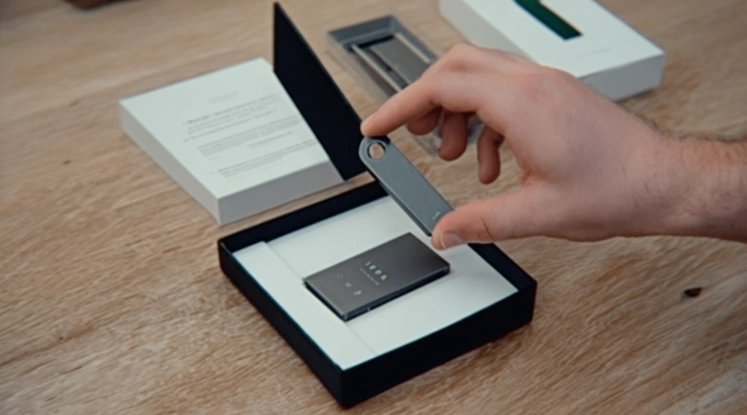
Unbox and Connect Device
Unbox and Connect Device quickly through streamlined inspection and connection procedures. The USB or Bluetooth connection options depend on device model and intended usage pattern. The device power-on sequence initiates configuration immediately upon connection for fast Ledger setup.
Quick unboxing verifies essential seal integrity without exhaustive inspection. Users with security concerns should perform comprehensive verification through detailed guides for cold wallet protection.
USB or Bluetooth Connection
USB or Bluetooth connection options by model:
| Model | USB Connection | Bluetooth Connection |
|---|---|---|
| Nano S Plus | USB-C (required) | Not available |
| Nano X | USB-C (setup required) | After initial USB setup |
| Stax | USB-C | After initial USB setup |
| Flex | USB-C | After initial USB setup |
USB connection is required for initial Ledger hardware wallet setup on all models. Bluetooth Ledger connection becomes available on supported models after completing USB-based initialization for secure element configuration.
Device Power-On
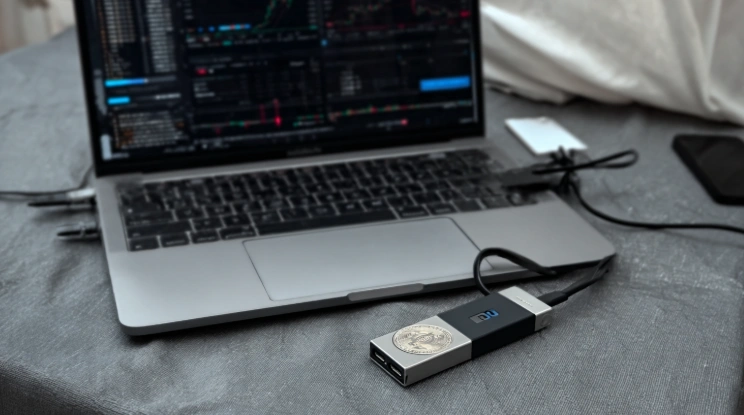
- Connect USB-C cable to device
- Connect other end to computer
- Device powers automatically
- Ledger logo displays during boot
- Welcome screen appears
- Press both buttons to begin
- Select "Set up as new device"
- Continue with PIN configuration
Device power-on initiates the initial Ledger configuration process immediately. The hardware wallet draws power through USB-C without separate charging requirements for crypto security setup unlike Trezor or KeepKey power requirements.
Configure PIN and Passphrase
Configure PIN and Passphrase to establish access protection during Ledger hardware wallet setup. The strong PIN guidance helps select secure access codes while optional passphrase setup adds advanced protection layer. Both elements protect against unauthorized device access and provide cold storage security.
PIN configuration is mandatory while passphrase remains optional for advanced users. Most users achieve adequate security through PIN alone with proper recovery phrase protection.
Strong PIN Guidance
Strong PIN guidance for secure access:
- Choose 4-8 digits (longer is stronger)
- Avoid sequential patterns (1234, 4321)
- Avoid repeated numbers (0000, 5555)
- Avoid personal dates (birthday, anniversary)
- Avoid obvious combinations (your address)
- Create unique code not used elsewhere
- Memorize without writing down
- Enter only on device display
- Test PIN after configuration
- Remember three fails wipes device
Optional Passphrase Setup
| Feature | Without Passphrase | With Passphrase |
|---|---|---|
| Security level | Standard | Enhanced |
| Wallet access | PIN only | PIN + passphrase |
| Recovery | Phrase restores wallet | Phrase + passphrase required |
| Hidden wallets | Not available | Possible |
Optional passphrase setup creates hidden wallet accessible only with specific passphrase entry. This advanced feature requires careful management to avoid permanent access loss for initial Ledger configuration.
Generate Recovery Seed
Generate Recovery Seed during Ledger hardware wallet setup to enable future wallet restoration. The proper offline backup ensures phrase security while emergency restore plan prepares for recovery scenarios. Seed generation represents the most critical setup step for cold storage protection.
Seed generation must occur on-device only with physical recording. Digital capture of any kind compromises long-term crypto security for all supported coins.
Proper Offline Backup
- Device displays 24 words sequentially
- Write each word on recovery card
- Use exact spelling shown on display
- Maintain word sequence (1-24)
- Verify when device prompts confirmation
- Store cards in secure private location
- Consider metal backup for durability
- Never create digital copies
- Never share with anyone
Proper offline backup protects fast Ledger setup investment. The recovery phrase enables restoration across any compatible hardware wallet for private keys recovery via USB-C or Bluetooth.
Emergency Restore Plan
| Scenario | Preparation | Recovery Action |
|---|---|---|
| Device loss | Backup accessible | Restore on new device |
| Device damage | Multiple backup copies | Restore on new device |
| PIN forgotten | Backup accessible | Reset device, restore |
| Device theft | Backup secure | New device, new phrase, transfer |
| Natural disaster | Geographic distribution | Access surviving backup |
Ledger Live Quick Installation
Ledger Live Quick Installation provides the management software for cryptocurrency operations. The desktop app download serves primary computer usage while mobile app download enables smartphone access. Quick installation completes rapidly on supported platforms.
Installation should precede device connection for optimal driver availability. Multiple platforms can access the same hardware wallet through Ledger Live applications.
Desktop App Download
- Navigate to ledger.com/ledger-live
- Select operating system version
- Download installer file
- Verify checksum (security-conscious users)
- Run installer application
- Follow installation prompts
- Launch Ledger Live
- Accept terms of service
- Select device setup option
- Connect device to continue
Ledger Live desktop download provides full-featured management for fast Ledger setup. The application supports Windows, macOS, and Linux platforms for initial Ledger configuration across crypto security operations.
Mobile App Download
| Platform | Source | Requirements |
|---|---|---|
| iOS | App Store | iOS 14.0+ |
| Android | Google Play | Android 10.0+ |
Mobile app download enables Ledger Live on smartphones. iOS requires Bluetooth-capable device (Nano X, Stax, Flex) while Android supports USB-C OTG for all models during Ledger hardware wallet setup unlike Trezor or KeepKey mobile support.
First Transaction Test
First Transaction Test verifies complete Ledger hardware wallet setup functionality before committing significant funds. The send small crypto test confirms transaction signing while confirm Ledger signing validates hardware verification display. Testing with minimal amounts prevents costly errors.
Testing establishes confidence in configuration before primary cryptocurrency transfer. Successful test confirms ready status for regular cold storage usage.
Send Small Crypto
- Fund wallet with minimal test amount
- Create transaction in Ledger Live
- Review transaction details on screen
- Confirm address matches intended destination
- Verify amount is correct
- Approve transaction on hardware wallet
- Compare device display to application
- Sign transaction with button confirmation
- Monitor transaction confirmation
Send small crypto validates fast Ledger setup completion. The test confirms all components function correctly for private keys operations via USB-C or Bluetooth.
Confirm Ledger Signing
| Display Element | Verification Purpose | Action |
|---|---|---|
| Recipient address | Correct destination | Compare to intended |
| Amount | Correct value | Verify expectation |
| Fee | Reasonable cost | Assess appropriateness |
| Network | Correct blockchain | Confirm asset type |
Confirm Ledger signing test validates hardware wallet displays match application requests. This verification prevents transaction manipulation for first transaction test and all future operations completing initial Ledger configuration for crypto security.
For detailed initialization, see our How to Initialize Your Ledger Hardware Wallet guide. For Nano S Plus specific setup, visit Setting Up Ledger Nano S Plus Safely.